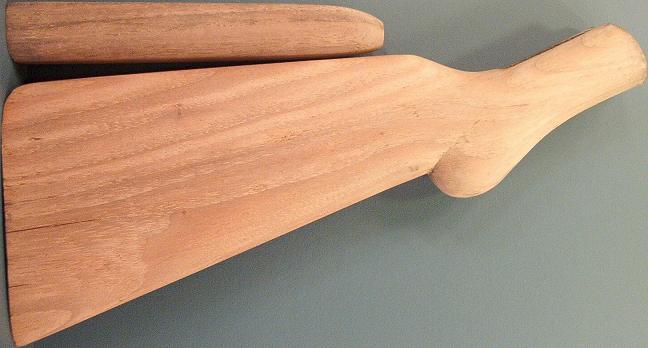
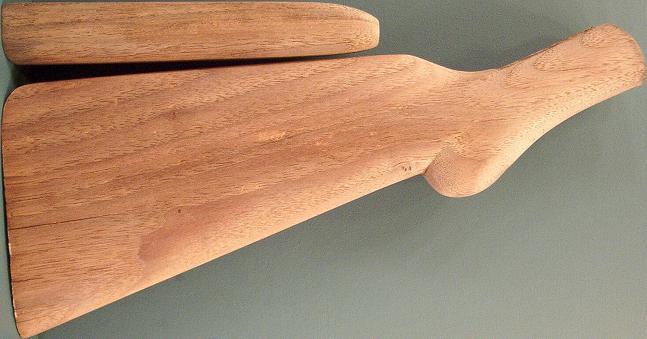
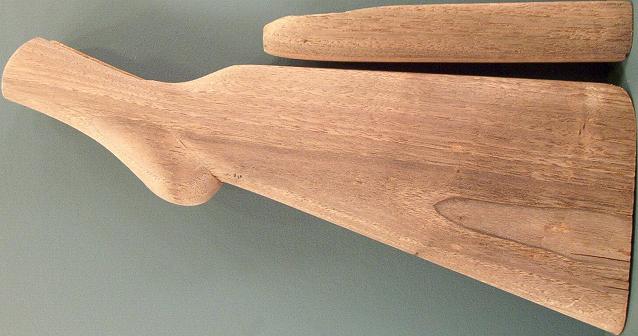
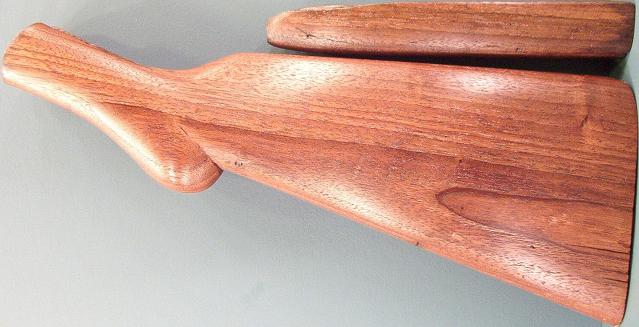
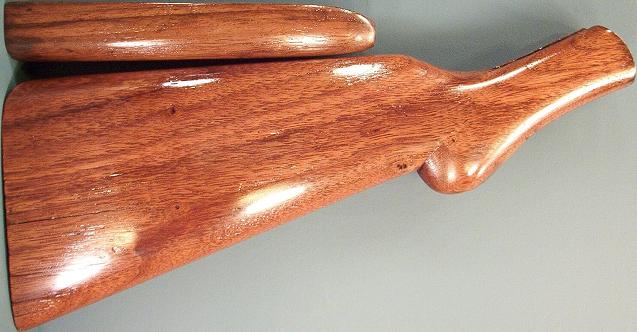
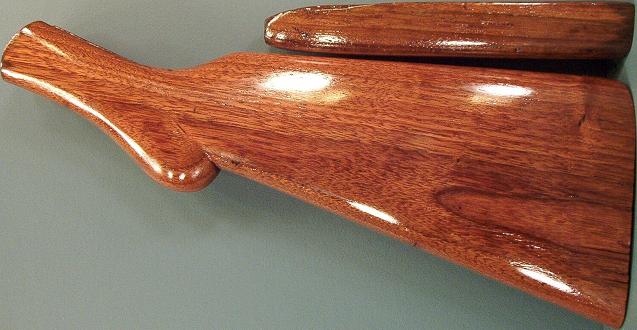
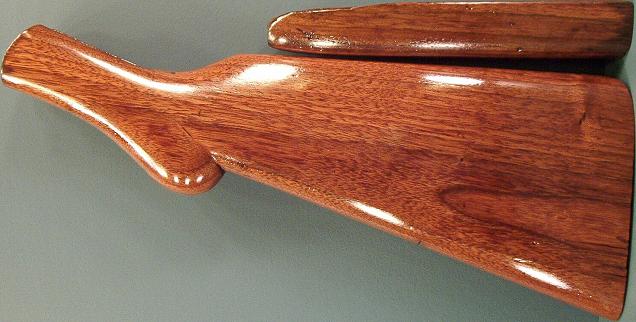
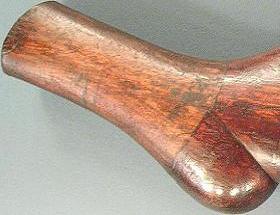
The photos below show the stock before refinishing:
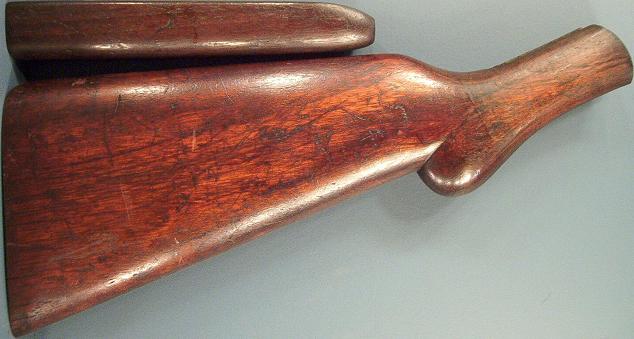
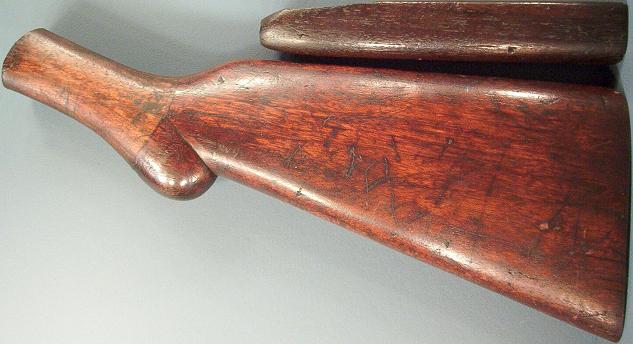
This gun makes an excellent demonstration example because it has many scratches and gouges in the wood and because a portion of the pistol grip is a different color than the remainder of the stock cause it had been covered, apparently with tape, to repair a minor crack in the stock.
The goal will be to match the lighter portion of the pistol grip of the stock because this portion of the stock has been the least abused and affected by dirt, grime, oil, and grease. It also appears that the stock has had stain applied to it at some time that shows up as the darker blotches.
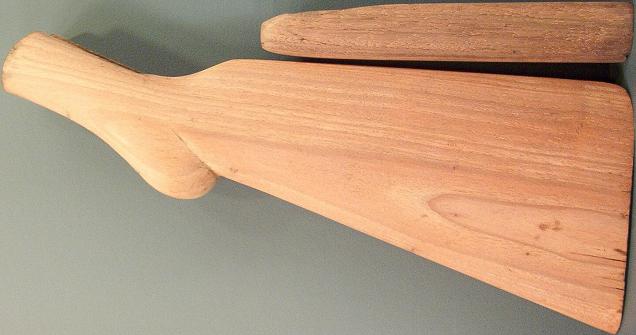
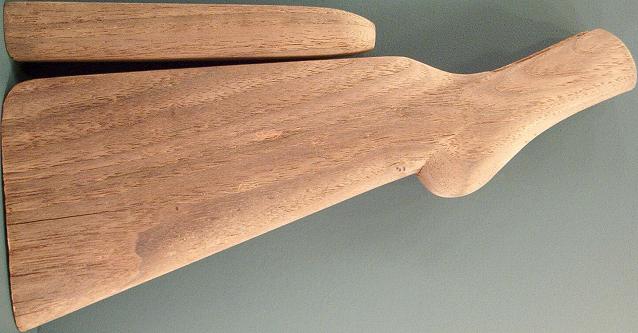
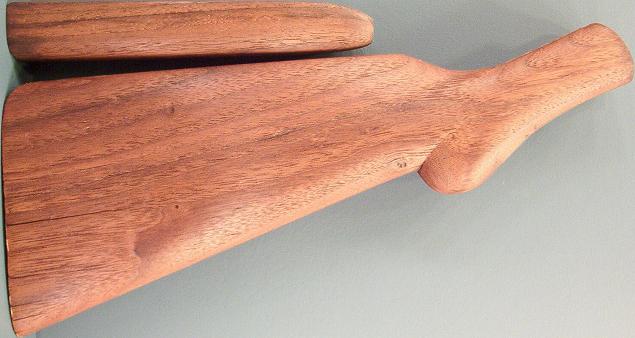
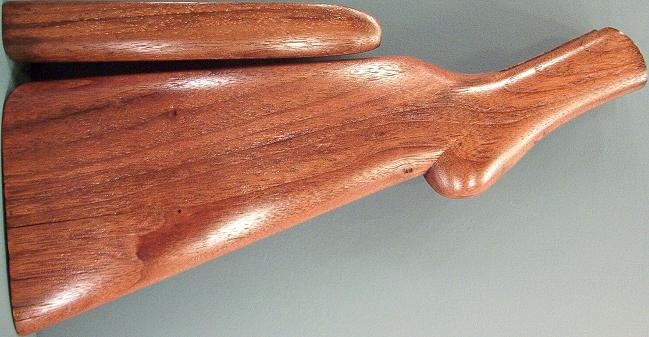
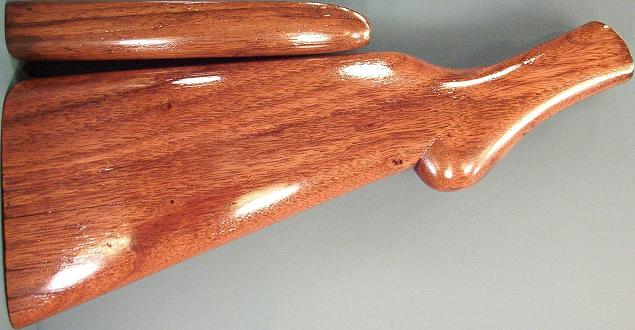
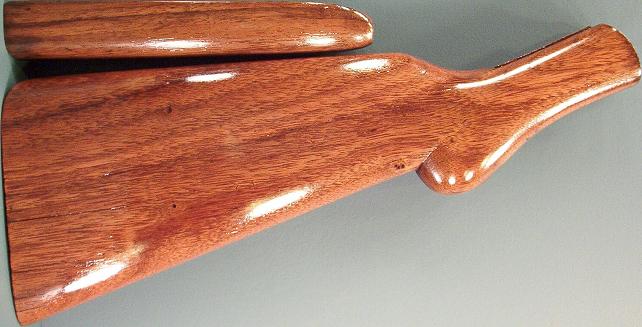
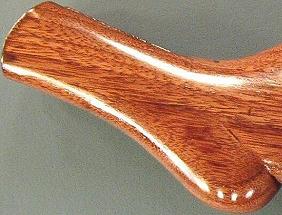
The photos below show the stock after being stripped using Paint And Varnish Remover as described at Gun Stock Stripping, having residual oil removed as described at Gun Stock Cleaning using a microwave as the heat source, having the crack in the stock repaired as described at Gun Stock Crack Repair, and then block sanded using 180 grit sandpaper to remove the scratches and gouges and then finally 320 grit sandpaper:
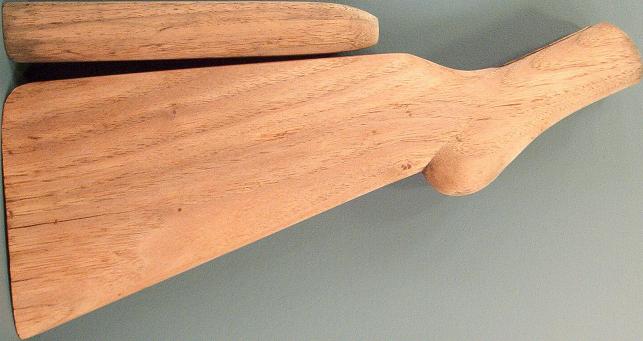
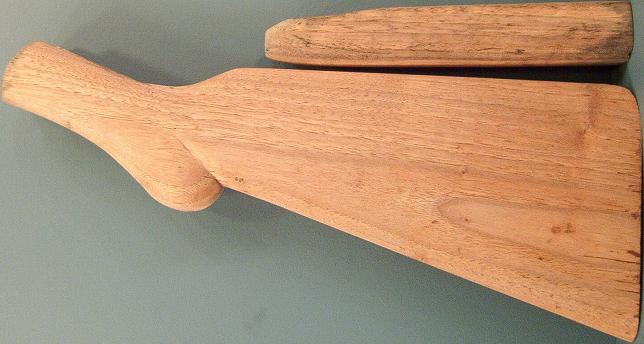
Notice that the rear portion of the forend is dark with absorbed residual oil. Also notice that the wood is lighter than it had been after over 100 years of natural aging. An aged finish may be acquired using Sodium Hydroxide as found in most Oven Cleaners. This chemical also does an excellent job of removing residual oil.
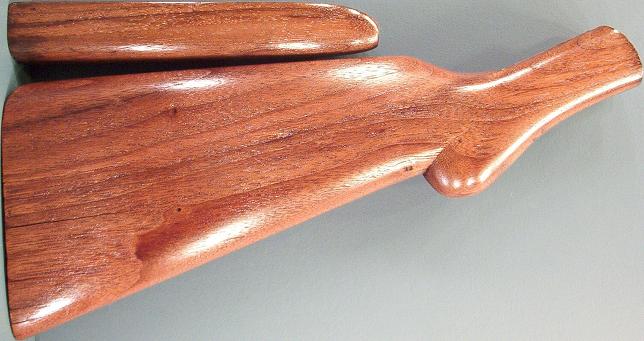
The photos below show the forend after having been sprayed with Oven Cleaner, soaking 1 minute, scrubbing for 3 minutes and then thoroughly washed with Dawn Dish Soap and rinsing and then thoroughly washed with Murphy Oil Soap and rinsing and then allowing to dry:
Notice the rear portion of the forend appears to have had virtually all the residual oil removed.
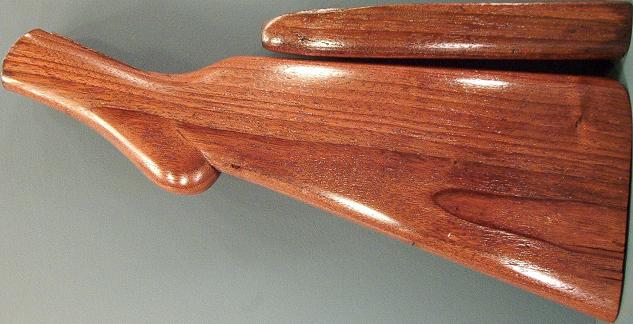
The photo below shows the stock after having Oven Cleaner applied as was done to the forend and then wetting both with water:
Notice how the wet forend reveals the darker portions.
The photo below shows the stock, including forend, after drying and very lightly sanded with 320 grit sandpaper:

After applying the Oil/Varnish finish to the forend, the darker portions are again more pronounced as shown in the photos below:


To remove more of the residual oil and age the finish more without stain, the parts are sprayed in Oven Cleaner, allowed to soak for approximately 3 minutes, scrubbed for 2 minutes, and then thoroughly washed with Dawn Dish Soap and rinsing and then thoroughly washed with Murphy Oil Soap and rinsing. The photos below shows the parts while still wet:
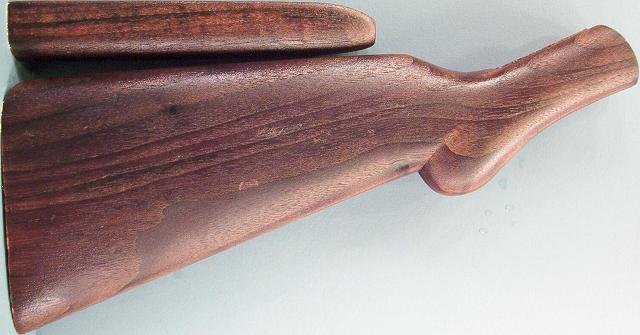
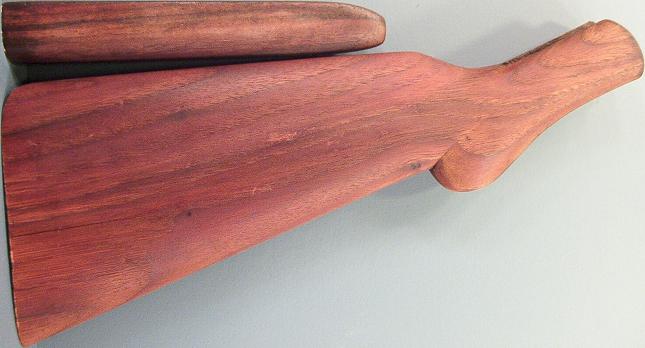
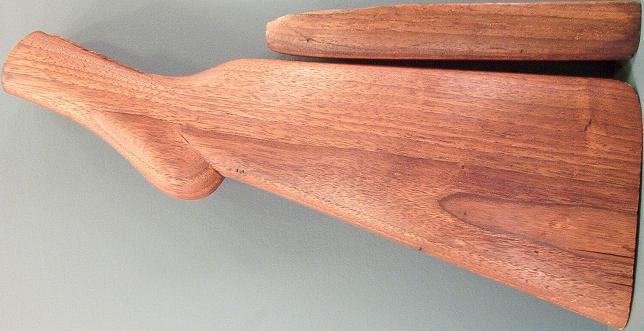
The photos below show the stock after drying:
Notice the color is darker than before without the use of stain. Any further aging of the wood is not desired and, therefore, any remaining residual oil in the forend will need to be accepted.
The stock is then finished using Minwax Antique Oil Finish. The applications are as follows:
Apply #1, dry 24 hoursRefer to Gun Stock Oil/Varnish Finishing for more information. The photos below show the various stages of application:
Apply #2, dry 24 hours
Rub lighty with #0000 steel wool, apply #3, dry 24 hours
Sand lightly with 400 grit, apply #4, dry 24 hours
Repeat above for applications #5 through 10
Sand lightly with 600 grit, apply #11, dry 24 hours
Rub lighty with #0000 steel wool, apply #12, dry 24 hours
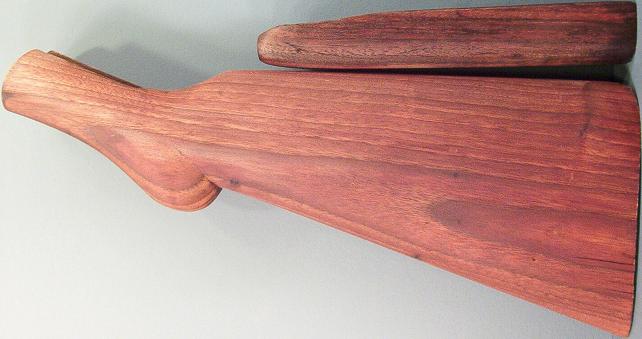
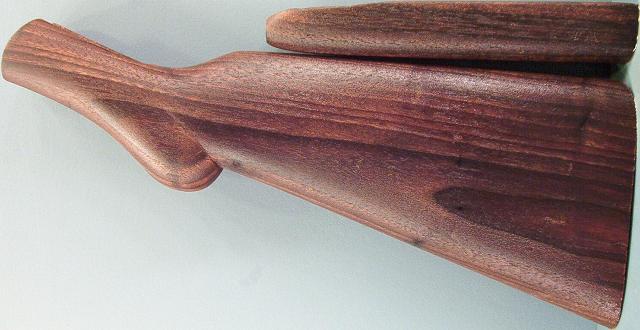
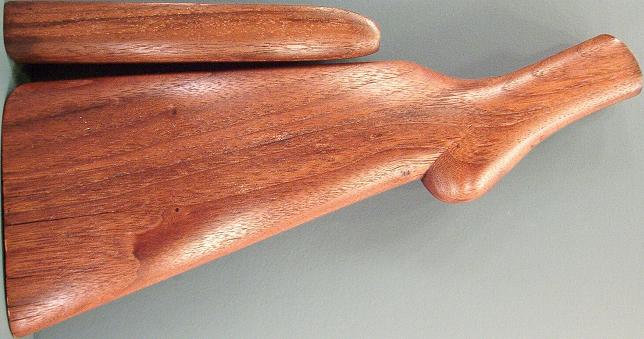
Apply #1, dry 24 hours The photos below show the color matching results:
Apply #2, dry 24 hours
Rub lighty with #0000 steel wool, apply #3, dry 24 hours

Sand lightly with 400 grit, apply #4, dry 24 hours
Repeat above for applications #5 through 10
Sand lightly with 600 grit, apply #11, dry 24 hours

Rub lighty with #0000 steel wool, apply #12, dry 24 hours
Notice that the color matches very closely to the lighter and less contaminated portion of the pistol grip.
The before and after photos are shown below:
Before
After
The assembled gun is shown below:

