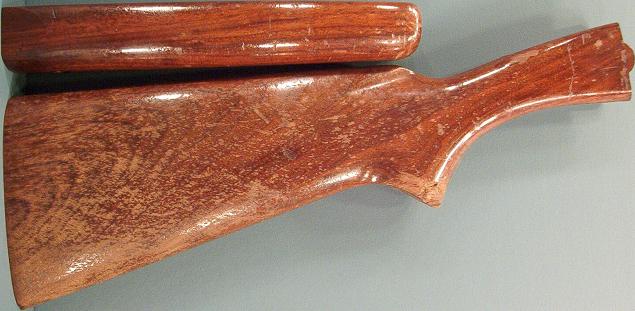
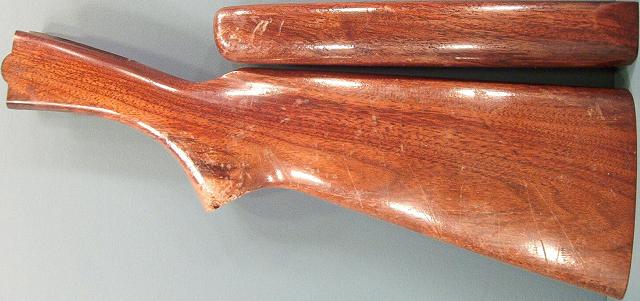
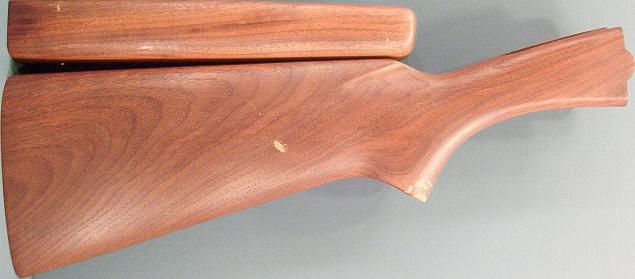
The photos below show the gun before refinishing:


This gun makes an excellent demonstration example because it has many scratches and gouges in the wood as can be seen in the photos below:
This stock, made of Walnut, will be finished in Minwax Antique Oil Finish which is a Linseed Oil/Varnish Finish.
As indicated in an email message from Minwax, regarding their Linseed Oil/Varnish (Minwax Antique Oil Finish) and Tung Oil/Varnish (Minwax Tung Oil Finish):
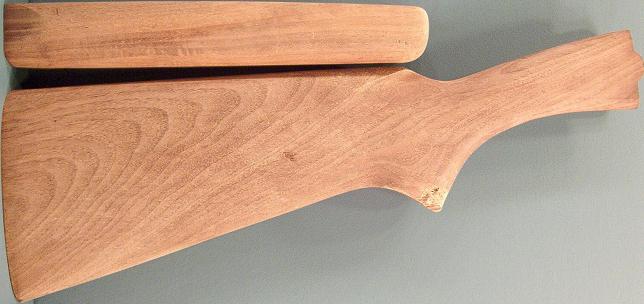
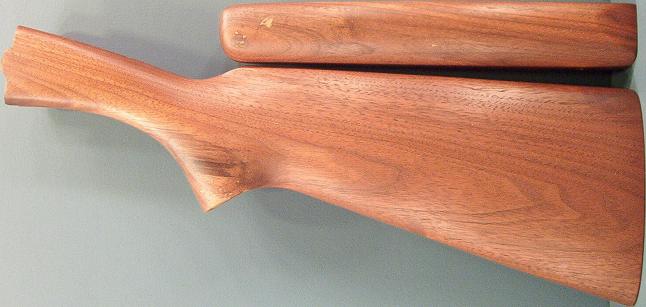
"Both finishes are penetrating, oil-based, hand-rubbed finishes. The Tung Oil Finish is derived from oil extracted from the tung nut blended with an alkyd varnish resin. The Antique Oil Finish is derived from linseed oil blended with an alkyd varnish resin. Both finishes create a natural feel and appearance to wood (protection lies within the wood grain not on top of the wood). Overall, the Antique Oil Finish is a more durable finish and will have a softer look to the finish."It is important to remember that once an Oil/Varnish Finish is applied, only that finish should be used to refresh/renew the finish. Do not apply an Oil Finish on top of an Oil/Varnish Finish because the Oil Finish will be repelled by the Oil/Varnish Finish and will result in a gummy finish.The photos below show the stock after being stripped as described at Gun Stock Stripping, having dents removed as described at Gun Stock Dent Removal, and having residual oil removed as described at Gun Stock Cleaning using an oven as the heat source:
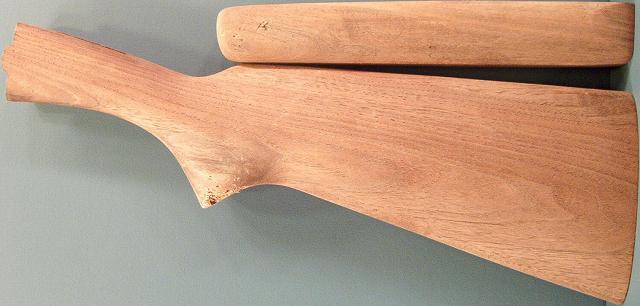
Notice the gouges in the wood, especially on the lower portion of the pistol grip. Since this is a modern firearm, these damaged areas will be repaired with wood filler. The surrounding areas are masked off to avoid embedding wood filler into the surrounding wood grain. The walnut colored wood filler is pressed firmly into all masked off gouges and allowed to cure for 24 hours. The entire stock is then block sanded with 220, 320, and finally 400 grit sandpaper. In preparation for staining the wood filler to match the wood, one application of Oil/Varnish Finish is applied and allowed to dry for 24 hours. The photos below show the results.
Notice that the color of the finished wood filler does not match that of the finished wood. Only the wood filler is then stained to match the wood. A needle is used to gently scrape off the finish on the wood filler and then dabbed with Red Mahogany (225) stain and gently rubbed on the wood filled portions. A second application of stain is applied to the wood filler after the first has cured. The stain had not produced dark enough results, so a black permanent marker was used to darken the filled and stained portions and emulate wood grain.
Four more applications of Oil/Varnish Finish are applied to the stock for a total of five applications. The stock is sanded extremely lightly with 600 grit sandpaper after the third application and rubbed lightly with 0000 steel wool after the fourth application. The photos below show the results:
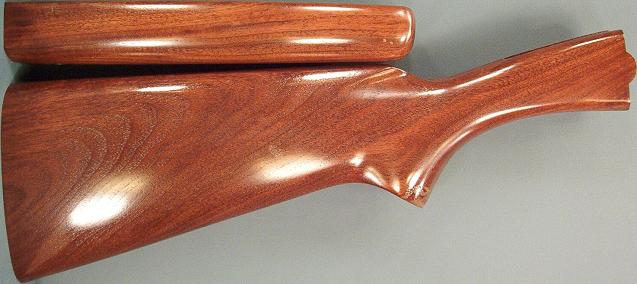
Notice that the repaired portions are still visible.
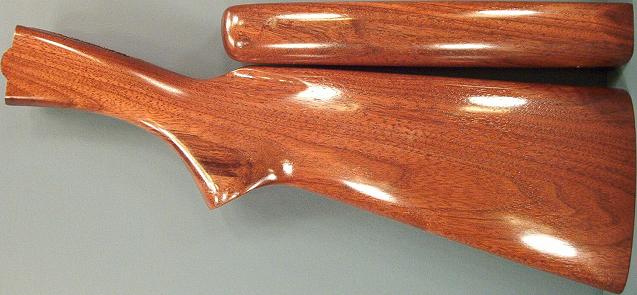
The before and after photos are shown below:
Before
After

